

























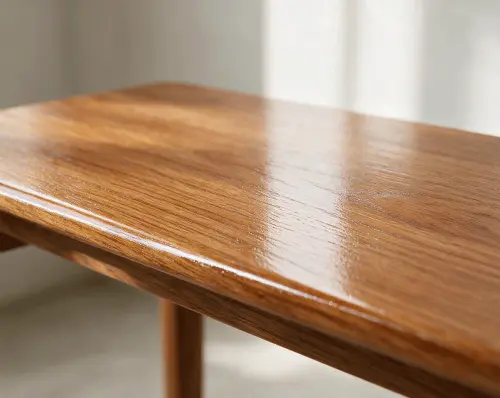
Properly polished wood furniture has a very different appeal from furniture that is just ordinarily painted. The gloss produced from the right polishing process gives a premium, luxurious impression, and maximally highlights the natural beauty of the wood grain — something that cannot be achieved by any solid paint.
However, getting a truly glossy, even, and durable polish result is actually not as easy as simply smearing polish on the wood. There are preparation stages, application techniques, and product selections that all determine whether the result will look professional or turn out dull, patchy, and quickly peel off.
Here is the complete guide on how to polish wood so the results are perfectly glossy and last long, from surface preparation to the final coat!
What is Plitur and Its Difference from Solid Wood Paint
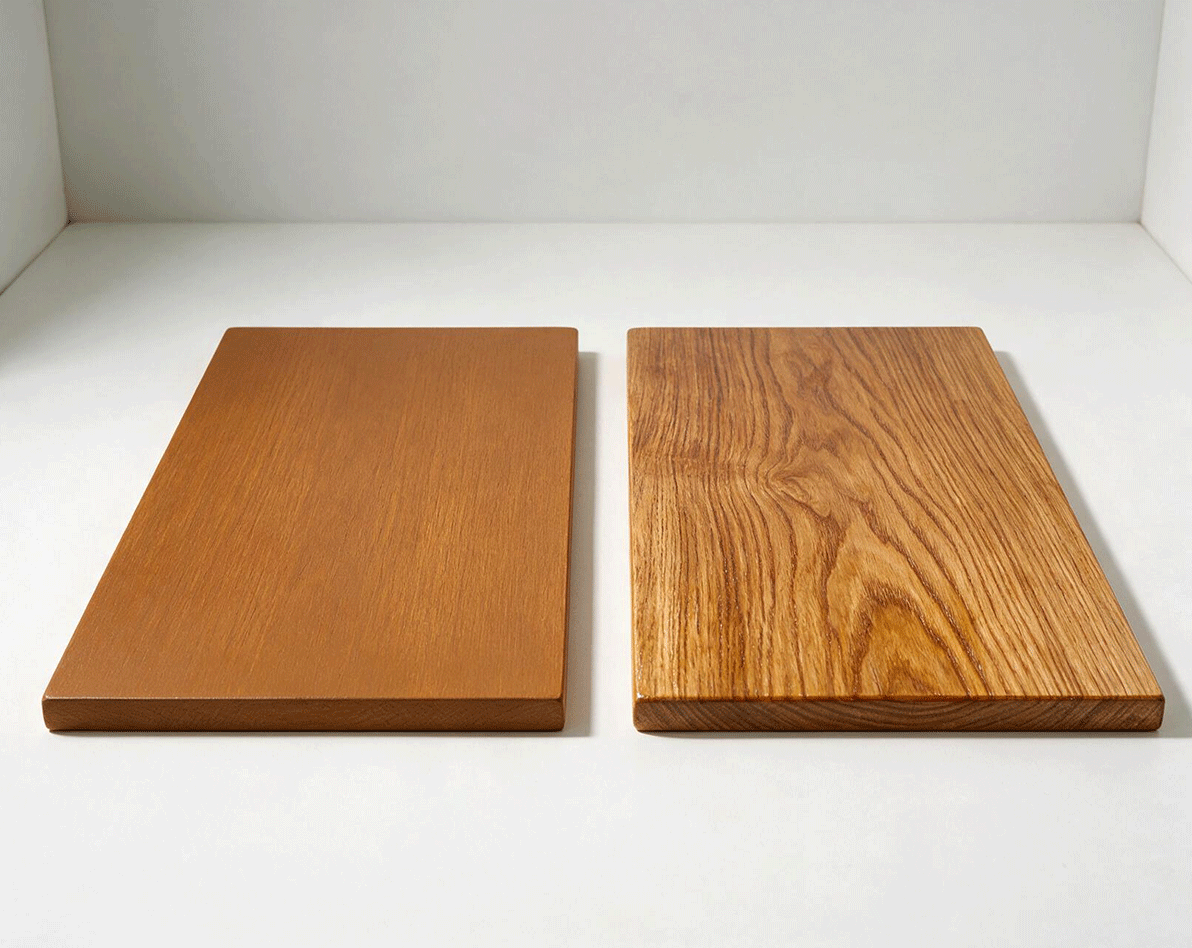
Plitur (from the Dutch word 'politoer') is a wood finishing technique that uses resin-based materials applied in thin, repeated layers to create a wood surface that is glossy, smooth, and rich in color. Different from solid wood paint which covers the entire surface with an opaque colored layer, plitur is transparent or semi-transparent because it absorbs into the wood grain while forming a thin layer on top of it.
The visual result is very different. Solid paint hides the grain and natural character of the wood behind an even color. Plitur does the exact opposite, emphasizing and highlighting the wood grain from within, so every detail of the wood's natural pattern and texture looks clearer, richer, and livelier. The gloss produced by plitur also feels more elegant and natural compared to the gloss layer from ordinary paint.
Wood Surface Preparation Before Polishing
The preparation stage is the main determinant of the quality of the polishing result. No application technique can compensate for a poorly prepared surface. Take enough time for preparation — the results will speak for themselves.
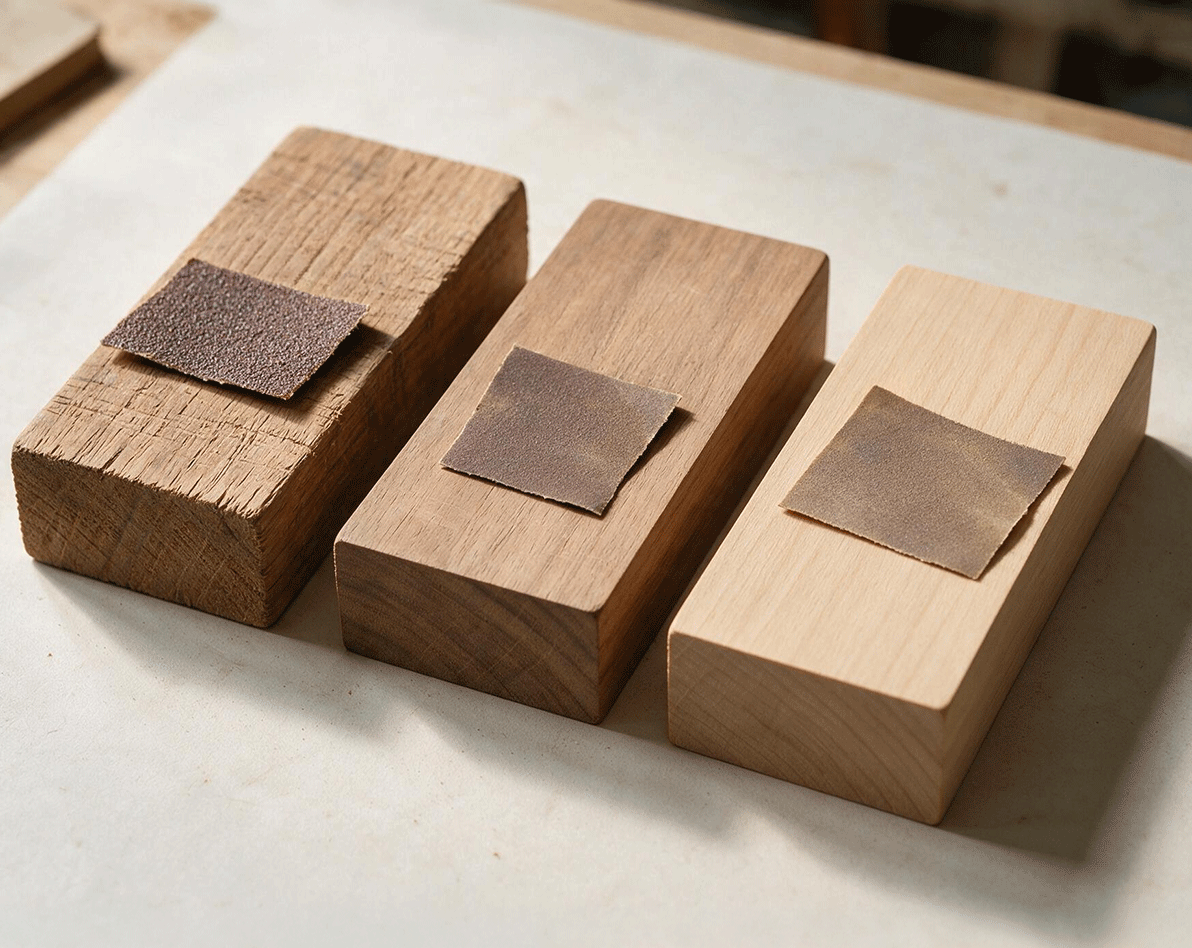
1. Sand Gradually from Coarse to Fine
Start sanding with coarse sandpaper (number 80–120) to lift old layers, paint residues, or uneven surfaces. Once the surface is relatively flat, continue with medium sandpaper (number 150–180) for further smoothing. Finish with fine sandpaper (number 220–240) to create a surface that is truly smooth and ready to receive the polish. Always sand in the direction of the wood grain — sanding across the grain will leave scratches that are clearly visible after being polished.
2. Clean Sanding Dust Thoroughly
After sanding, clean all dust and wood chips using a tack cloth (special anti-dust cloth) or a damp cloth squeezed until almost dry. Sanding dust left on the surface will be trapped under the polish layer and create a rough texture that strongly disturbs its final appearance. Also, ensure to clean the crevices of carvings or hard-to-reach wood details using a small brush.
3. Ensure the Wood is Completely Dry
Wood moisture levels greatly affect the polishing results. Wood that is still damp or recently exposed to water will not absorb the polish evenly, resulting in patchy colors and inconsistent gloss. Ensure the wood is completely dry before starting the polishing process — if necessary, store the wood in a well-ventilated room for 24–48 hours before working on it.
Correct Wood Polishing Steps for an Evenly Glossy Result
1. Apply the First Layer of Wood Stain (Optional but Recommended)
Before polish is applied, it is highly recommended to apply wood stain first if you want to deepen or change the wood color. Wood stain will absorb into the wood grain and provide a rich base color, so the polish layer above it will look deeper and more dramatic. Let the wood stain dry perfectly according to the time stated on the packaging — usually 1–2 hours for water-based and 4–6 hours for solvent-based — before proceeding to the next stage.
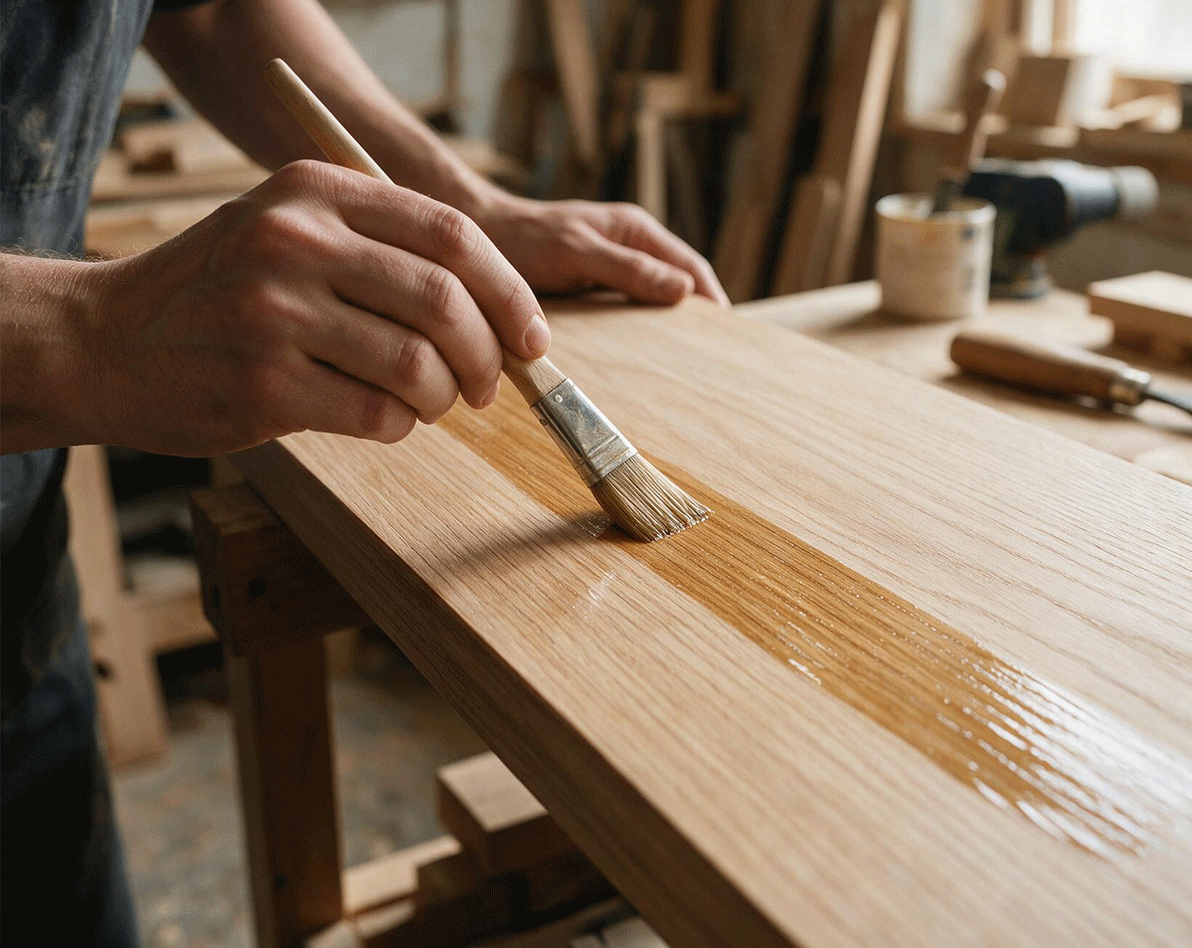
2. Apply the First Layer of Polish Thinly
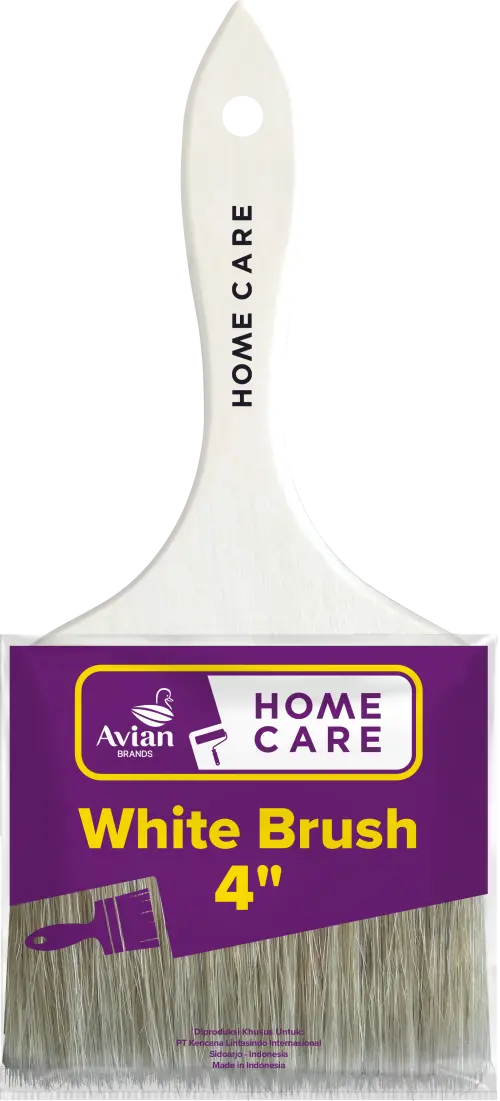
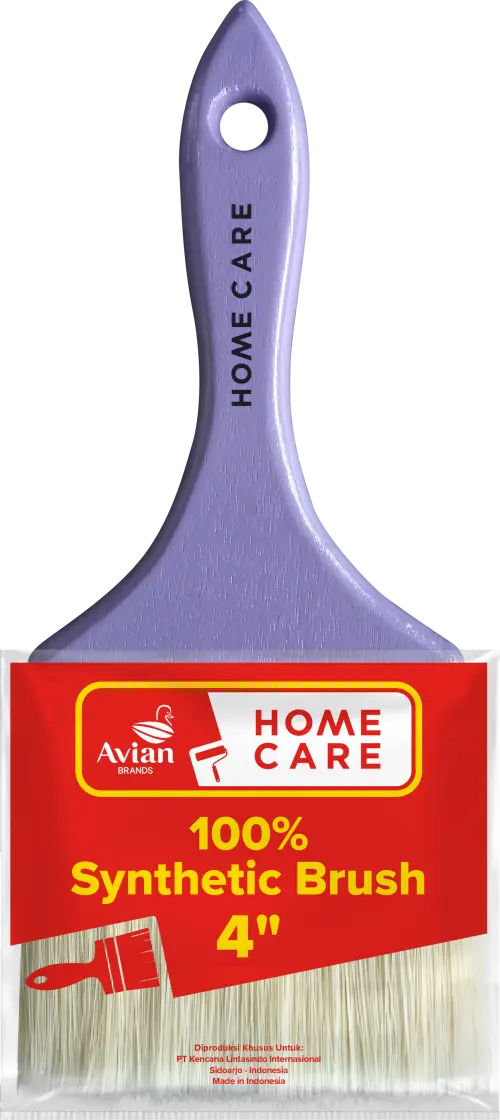
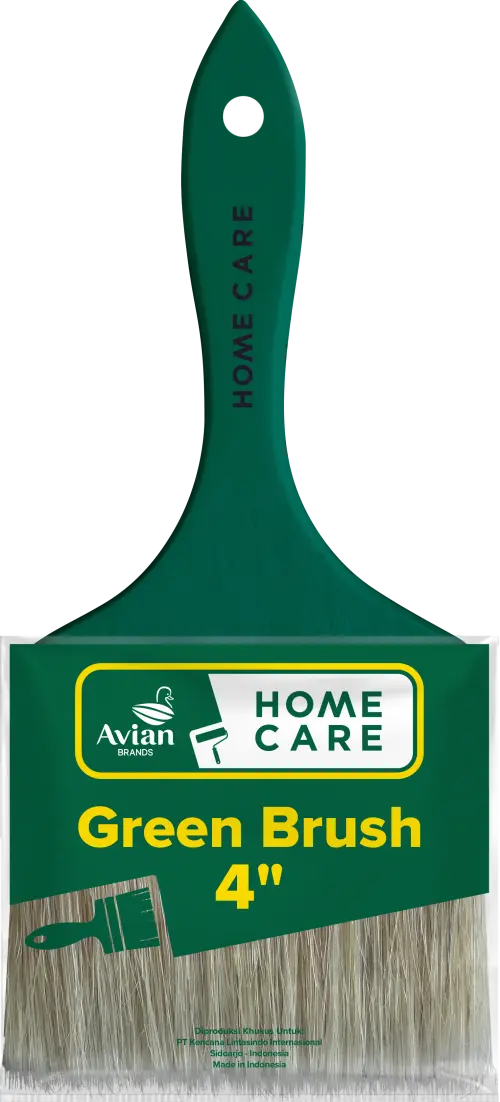
Use a good quality fine brush or clean cotton cloth to apply the first layer of polish with long strokes in the direction of the wood grain. At this stage, apply thinly and evenly — don't be tempted to apply it too thickly because a layer that is too thick will dry unevenly, creating a wavy appearance that is hard to fix. The first layer acts as a sealer that closes the wood pores while creating a foundation for the subsequent layers.
3. Lightly Sand After the First Layer Dries
After the first layer is completely dry (follow the drying time on the product packaging), perform light sanding using very fine sandpaper (number 320–400). The goal is not to remove the polish layer, but to level the surface and eliminate dust or small bubbles that might have been trapped during the drying process. After sanding, clean the dust using a clean cloth before continuing.
4. Repeat the Process up to 2–3 Layers for Optimal Gloss
The secret to a deep and maximum gloss on wood polish is gradual layering — not one thick layer. Apply the second layer of polish the same way as the first layer, perform light sanding after drying, clean the dust, and then repeat for a third layer if a deeper and more dramatic gloss is desired. The more layers applied (with sanding between each layer), the deeper and richer the resulting gloss.
Top Coat (Clear Gloss) Tips for Long-Lasting Gloss
1. Choose a Clear Coat with the Right Gloss Level
The final layer or top coat is the determinant of the final gloss character of the wood surface. It is available in full gloss (maximum shine), semi-gloss (medium and elegant shine), and matt/doff (no shine, natural) options. For a truly glossy result, choose a clear coat product labeled 'gloss' or 'high gloss'. Note that the final gloss level is also influenced by the quality of sanding in the previous stages — the finer the final sanding, the more perfect the gloss that can be achieved by the top coat.
2. Apply Top Coat with the Right Technique
Apply the top coat using a clean fine brush or use the spray technique for the most even results. If using a brush, ensure there are no visible brush strokes on the final result — use consistent long strokes and avoid 'returning' to areas that have already been painted before the layer dries. If using a spray, maintain a consistent distance (usually 20–30 cm) and move the spray evenly to avoid accumulation at one point.
3. Fine Sand and Apply the Second Layer of Top Coat
For a truly perfect and durable gloss, do not stop at one top coat layer. After the first layer dries, sand very finely using sandpaper number 600–800 or grade 0000 steel wool to create a truly smooth surface. Carefully clean all the dust, then apply the second top coat layer. This second layer is what will produce a final gloss that is deep, even, and resistant to everyday use.
4. Allow Sufficient Curing Time
Do not rush into using newly polished furniture. Even though the top coat layer already feels dry on the surface (usually in 1–2 hours), the full curing process takes longer — usually 24–72 hours depending on the product and environmental conditions. During the curing period, avoid placing objects on top of the newly polished surface as it risks leaving permanent pressure marks.
Wood Polish Products from Avian Brands Wood Series
To get wood polishing results that are truly perfectly glossy and durable, use the product range from Avian Brands Wood Series. Boyo Politur Vernis from the Wood Series line is specifically formulated to produce a luxurious gloss while emphasizing the beauty of the grain and natural color of the wood. A trusted choice for craftsmen and quality wood furniture lovers in Indonesia.
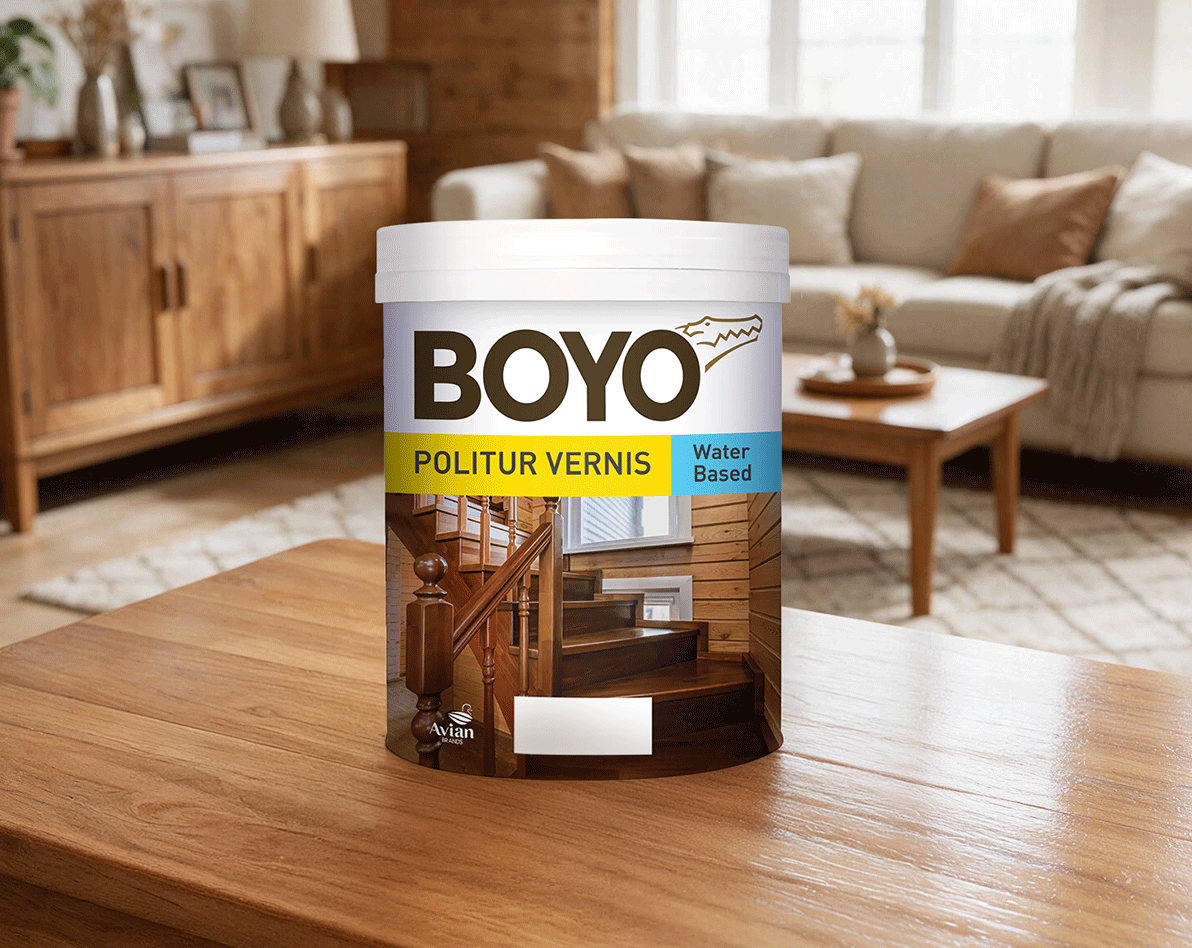
Advantages of Avian Brands Wood Series (Boyo Politur Vernis / Clear Coat):
-
Produces a deep and even luxurious gloss — emphasizing the beauty of the wood grain maximally.
-
Special formula that absorbs into the wood pores while forming a protective layer on its surface.
-
Available in gloss level choices: gloss, semi-gloss, to doff — adjust to your finishing tastes.
-
Anti-fungal and anti-insect for longer-lasting furniture protection.
-
Easy to apply using a brush, cloth, or spray for work flexibility.
-
Suitable for various types of interior and exterior wood.
-
Long-lasting gloss that does not easily dull despite exposure to everyday use.
With Avian Brands Wood Series, every piece of wood furniture in Avian Brands Friends' homes can appear with a perfect and natural gloss — highlighting the true beauty of the wood grain and staying beautiful for the long term.